Temporary Replacement For 3 Leak: Your Ultimate Guide
Leaking issues can be a real pain, especially when you're dealing with something as critical as a 'temporary replacement for 3 leak.' Whether it's your car, home, or any other system, leaks can wreak havoc if left unchecked. But don't worry—we’ve got your back. In this article, we’ll break down everything you need to know about temporary fixes for leaks, saving you time, money, and stress. So buckle up and let’s dive in!
Picture this: You're in the middle of nowhere, and BAM—a leak strikes. What do you do? Panic? Nope. You pull out your trusty toolkit and start looking for a temporary solution. This is where our guide comes into play. We’re here to arm you with the knowledge to tackle leaks head-on, whether they're small drips or full-blown disasters.
Before we jump into the nitty-gritty, remember that while temporary fixes are lifesavers, they're not permanent solutions. Always aim to address the root cause of the problem once you're back in a safe space. Now, let's get started on how to handle those pesky leaks!
Read also:Buell Film Video The Ultimate Guide To Capturing Your Adventures
What Is a Temporary Replacement for 3 Leak?
Let’s cut to the chase—what exactly is a temporary replacement for 3 leak? Simply put, it’s a quick fix designed to stop or reduce leaking until a more permanent solution can be implemented. These solutions come in various forms depending on the context—whether it's a fluid leak in your car, a plumbing issue at home, or even an industrial system failure.
Temporary replacements are your go-to when time is of the essence. They’re not meant to last forever but can buy you enough time to get professional help or repair the issue properly. Think of them as your emergency Band-Aid for leaks.
Why Do Leaks Happen?
Leaks don’t just happen out of nowhere—there’s usually a reason behind them. Understanding why leaks occur can help you prevent them in the future and choose the right temporary fix.
Some common causes of leaks include:
- Worn-out seals or gaskets
- Cracks or corrosion in pipes or components
- Loose connections or fittings
- High pressure causing weak points to fail
- Neglecting regular maintenance
Now that you know the 'why,' let’s move on to the 'how'—how to fix these leaks temporarily.
Tools and Materials You’ll Need
Before diving into the fixes, it’s important to gather the right tools and materials. Having the right gear can make all the difference between a successful fix and a frustrating failure.
Read also:Scott Jennings Net Worth The Inside Scoop On His Financial Empire
Common Tools for Leak Repairs
Here’s a list of tools you’ll likely need:
- Wrenches (various sizes)
- Screwdrivers
- Plumbing tape
- Epoxy putty
- Sealant sprays
- Teflon tape
Remember, having the right tools can save you a lot of hassle down the line. Don’t skimp on quality here—cheap tools might cost you more in the long run.
Temporary Fixes for Different Types of Leaks
Leaks come in all shapes and sizes, so it’s important to tailor your solution to the specific problem. Let’s break down some common types of leaks and their corresponding temporary fixes.
Car Fluid Leaks
If you’ve got a leak under your car, it could be anything from oil to coolant. Here’s what you can do:
- Use sealant additives for oil leaks
- Apply a quick-fix patch kit for radiator leaks
- Check and tighten loose connections
These fixes will keep you rolling until you can get to a mechanic.
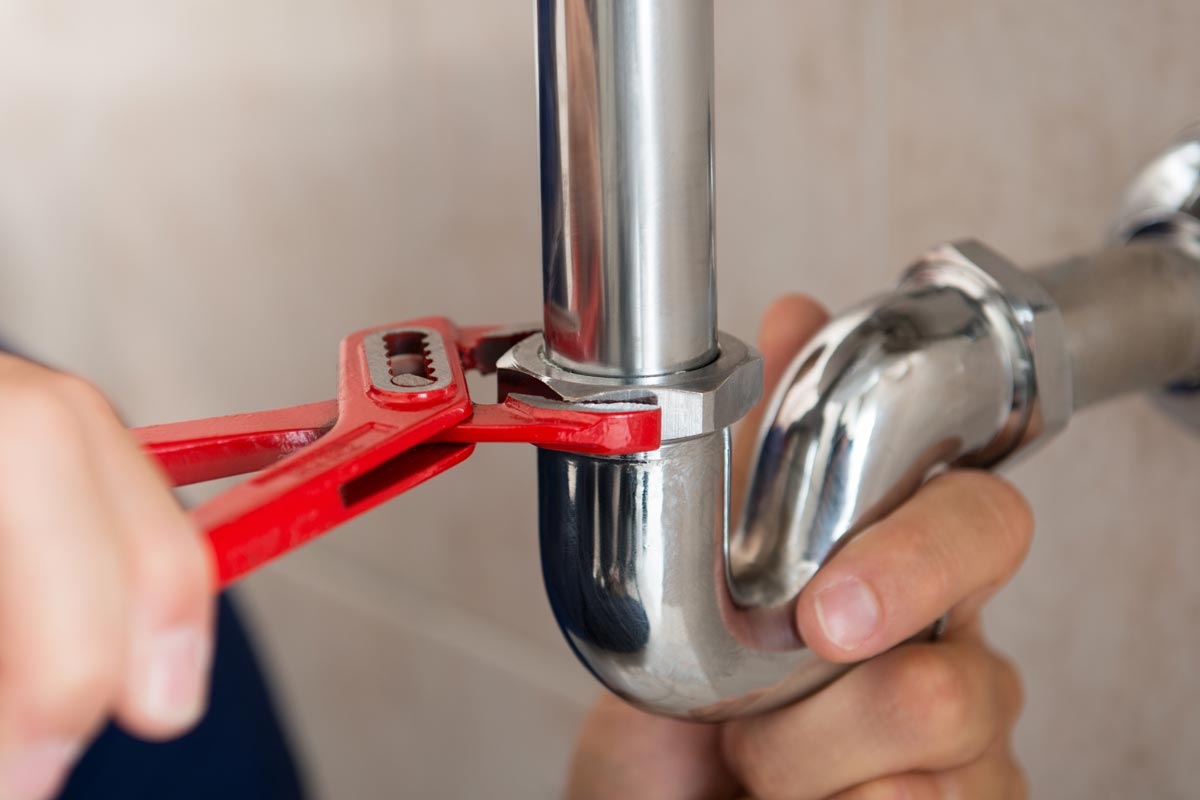
Plumbing Leaks
Got water dripping from your pipes? No worries. Try these:
- Wrap the leak with plumber’s tape
- Apply epoxy putty to seal cracks
- Use a pipe clamp for larger leaks
These methods can stop water from spraying everywhere and give you enough time to fix the issue properly.
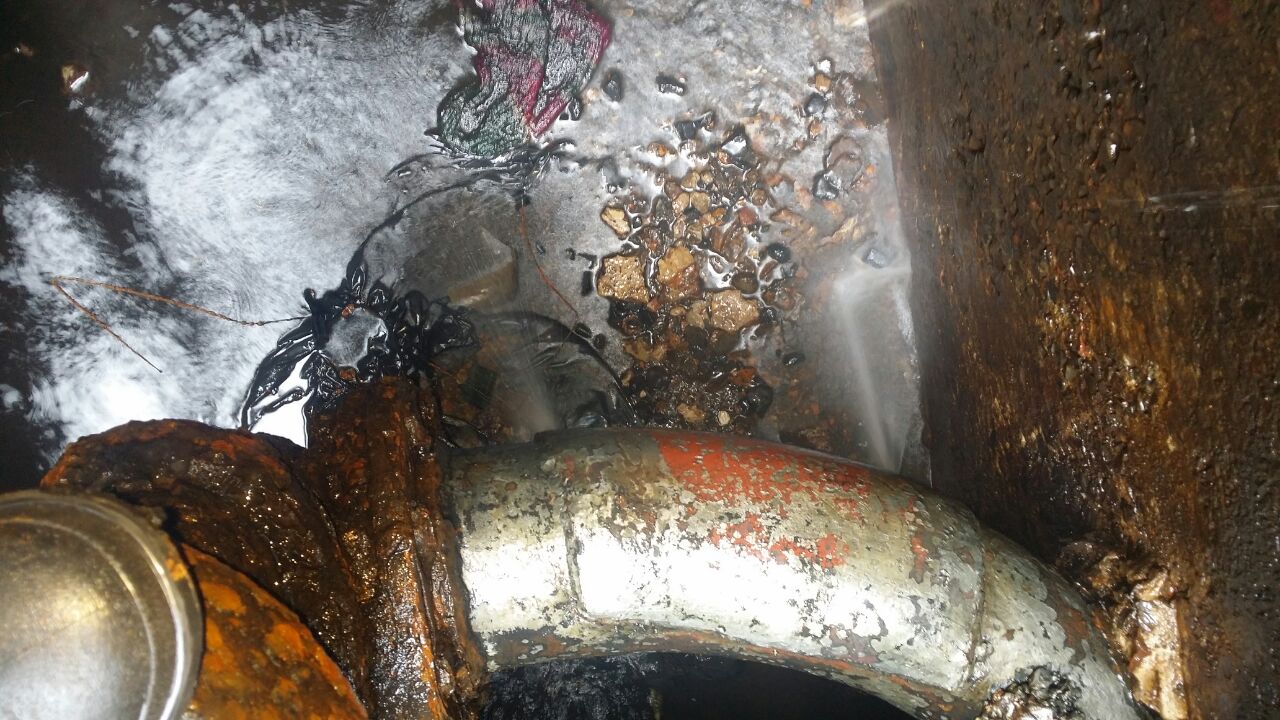
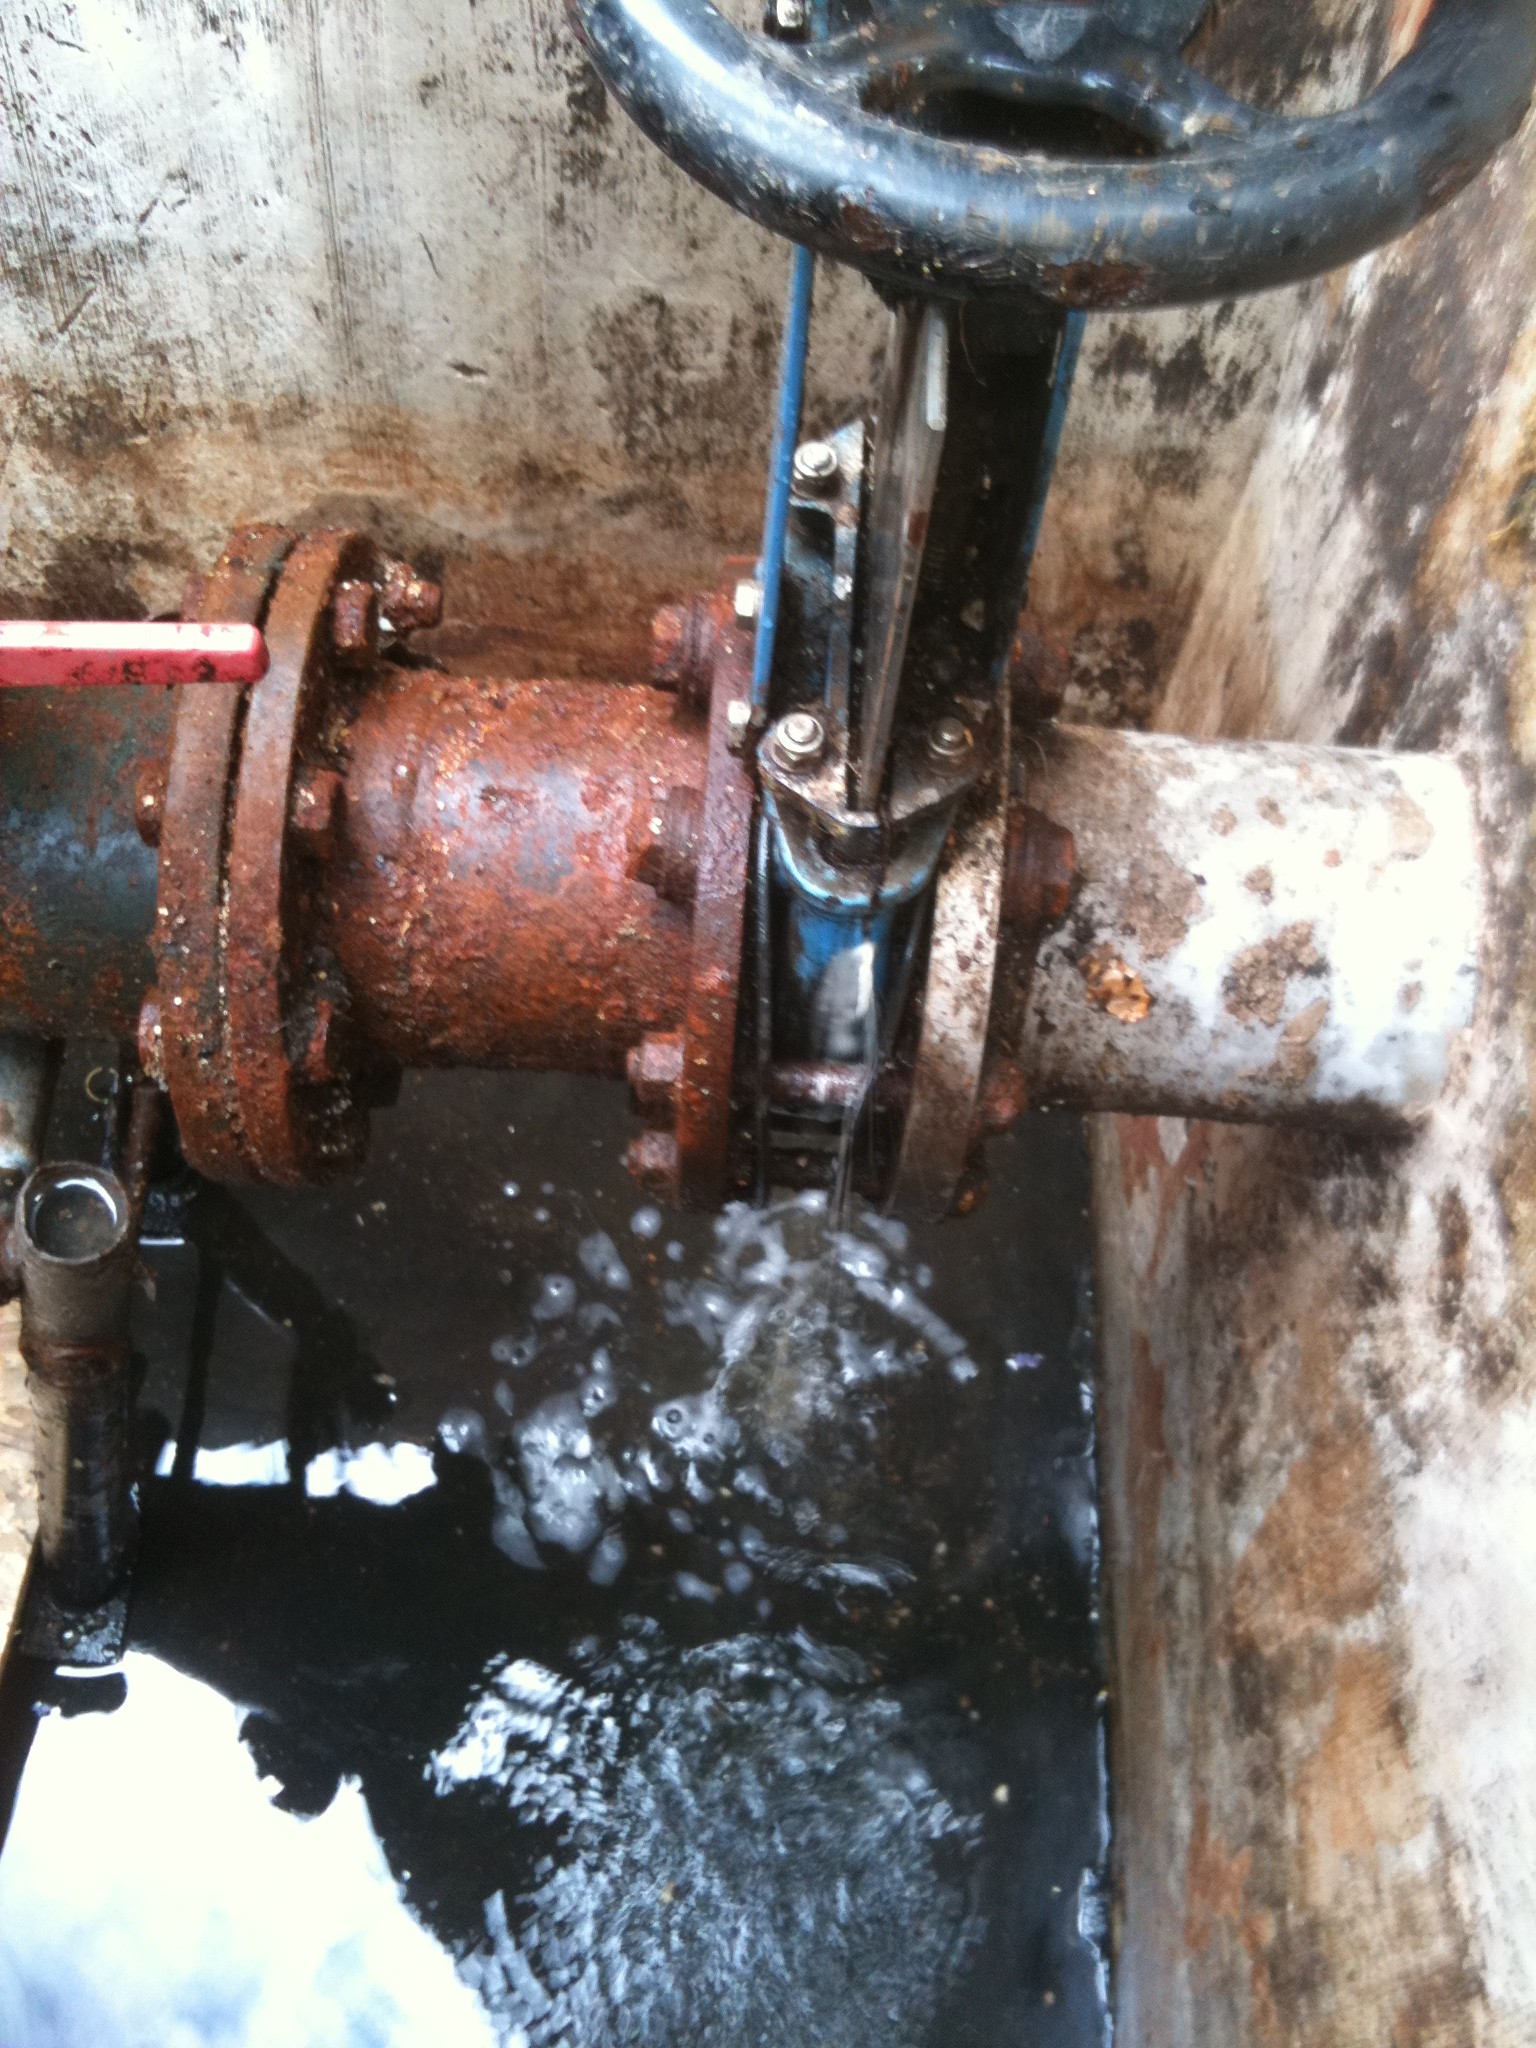
Industrial System Leaks
For industrial systems, leaks can be catastrophic. Here’s how to handle them:
- Shut off the system immediately
- Use high-strength sealants
- Employ temporary clamps or patches
Industrial leaks require extra caution, so always prioritize safety first.
How to Identify the Source of the Leak
Identifying the source of the leak is crucial for applying the right fix. Here’s a step-by-step guide:
- Inspect the area visually for any obvious signs of damage
- Listen for unusual sounds like dripping or hissing
- Use a dye or tracer fluid to pinpoint the exact location
- Check for pressure drops in the system
Once you’ve located the source, you’re one step closer to fixing the problem.
Choosing the Right Temporary Solution
Not all temporary fixes are created equal. Choosing the right one depends on several factors, including the type of leak, its location, and the materials involved.
Consider the following:
- For small leaks, sealants and tapes might suffice
- For larger leaks, clamps or patches may be necessary
- Always ensure the fix is compatible with the system it’s being used on
Remember, the goal is to stop the leak temporarily—not to create a new problem.
DIY vs Professional Help
When it comes to leaks, there’s always the question of whether to DIY or call in the pros. Here’s how to decide:
When to DIY
DIY is a great option for:
- Small, easily accessible leaks
- Systems you’re familiar with
- Situations where time is limited and professional help isn’t readily available
When to Call a Professional
Call in the experts for:
- Complex or large-scale leaks
- Situations involving hazardous materials
- When the root cause of the leak is unclear
Knowing when to seek professional help can save you a lot of headaches and potential damage.
Preventing Future Leaks
Prevention is always better than cure. Here are some tips to help you avoid leaks in the future:
- Perform regular maintenance checks
- Replace worn-out parts before they fail
- Monitor pressure levels in your systems
- Keep an eye out for early warning signs like discoloration or unusual noises
By staying proactive, you can prevent leaks from becoming major issues.
Cost Considerations
Temporary fixes can save you money in the short term, but they’re not always the cheapest option in the long run. Here’s a breakdown:
- Sealants and tapes are relatively inexpensive
- Clamps and patches may cost a bit more
- Permanent repairs can be costly but are often worth the investment
Always weigh the costs and benefits before deciding on a solution.
Conclusion
In conclusion, dealing with leaks doesn’t have to be a nightmare. With the right knowledge and tools, you can implement effective temporary replacements for 3 leak situations. Remember, while these fixes are great in a pinch, they’re not substitutes for proper repairs. Always aim to address the root cause of the leak as soon as possible.
We encourage you to share your experiences and tips in the comments below. Whether you’ve got a favorite fix or a horror story to share, we’d love to hear from you. And don’t forget to check out our other articles for more handy tips and tricks!
Table of Contents
- What Is a Temporary Replacement for 3 Leak?
- Why Do Leaks Happen?
- Tools and Materials You’ll Need
- Temporary Fixes for Different Types of Leaks
- How to Identify the Source of the Leak
- Choosing the Right Temporary Solution
- DIY vs Professional Help
- Preventing Future Leaks
- Cost Considerations
- Conclusion
